There are several small bug fixes and enhancements in this release. The major enhancement is the ability to add multiple Essbase environments for ad-hoc grids. Prior releases only allowed connecting to a single Essbase server/Provider services combination. That limitation has now been lifted.
- Here's an excerpt from the cubeSavvy.conf file: The 'default' environment below is used to test whether a user has Essbase access to even log into cubeSavvy. The user should be provisioned in its Shared Services instance. The names are important (e.g. dev, test, main) since this will be displayed on grids. You can add as many environments as needed. At least one, however, is required as the default.
default: prod,
dev {esbServer = "epmDev", esbProviderUrl = "http://192.168.56.101:9000/aps/JAPI"},
test {esbServer = "epmTest", esbProviderUrl = "http://192.168.56.102:9000/aps/JAPI"},
prod {esbServer = "epmProd", esbProviderUrl = "http://192.168.56.103:9000/aps/JAPI"}
}
default: main,
main {esbServer = "epmMain", esbProviderUrl = "http://192.168.56.103:9000/aps/JAPI"}
- By default the installer will prompt for, and fill in, the "main" environment values, like so:
default: main,
main {esbServer = "epmMain", esbProviderUrl = "http://192.168.56.103:9000/aps/JAPI"}
}

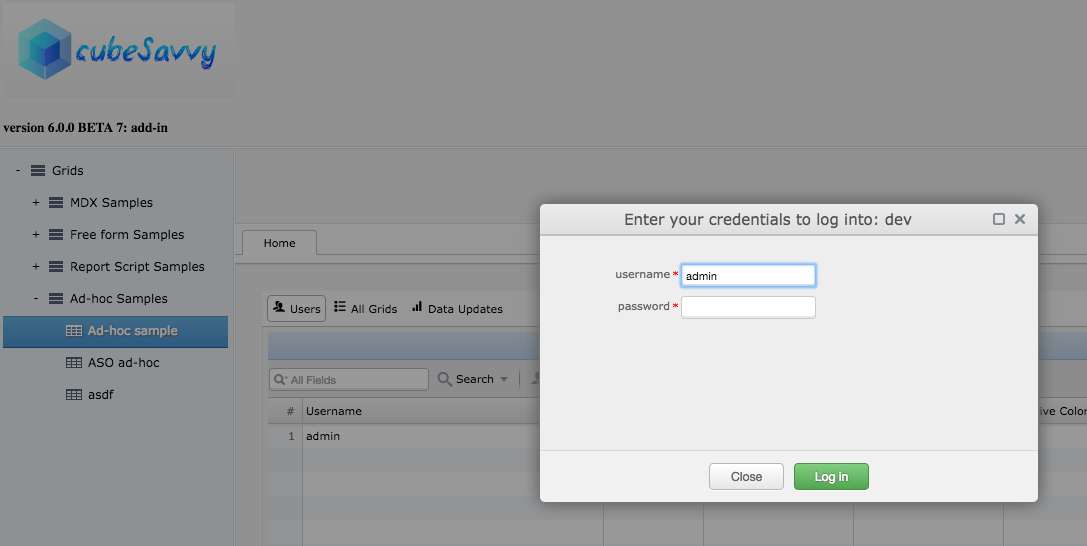
Prompt to log into environment when clicking on grid (only displays if you're not already logged into the particular environment):

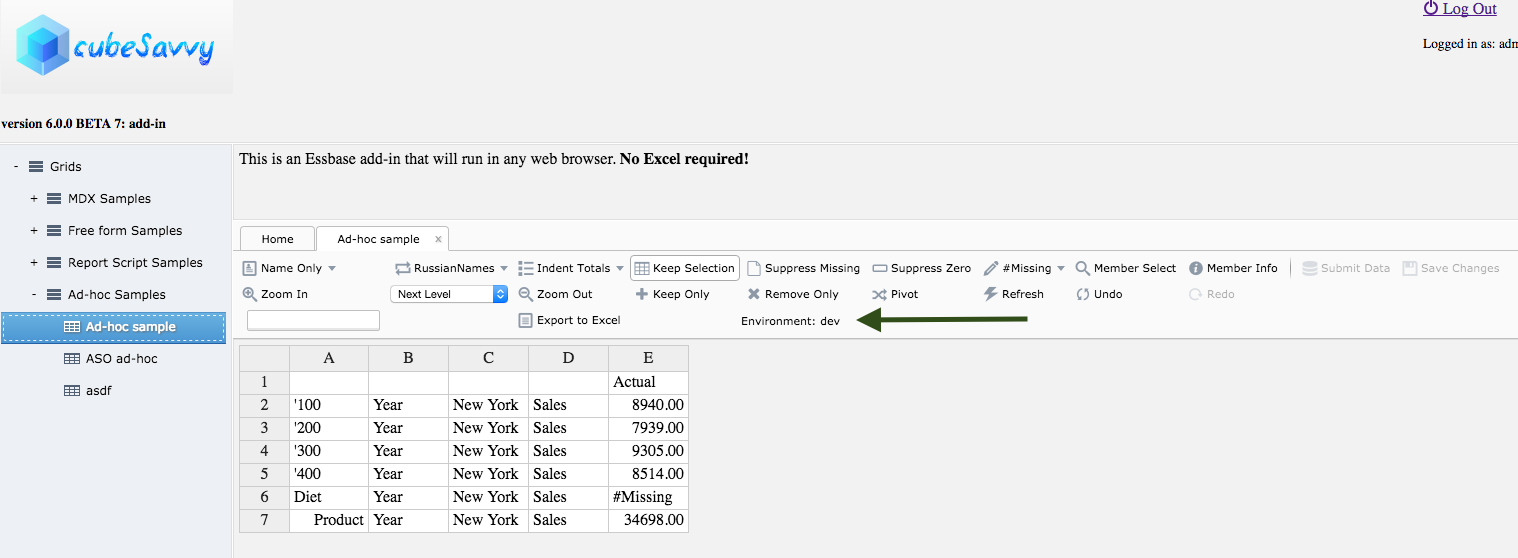
Environment indicated on ad-hoc grid:

To add additional environments, as above, you will need to manually edit the $INSTALL_DIR/cubeSavvy/conf/cubeSavvy.conf file.
This enhancement was requested by so many people, I decided to release one more beta to incorporate it.
Grid edit/setup:

Prompt to log into environment when clicking on grid (only displays if you're not already logged into the particular environment):
Environment indicated on ad-hoc grid: